Saturday, 12 July 2014
Sunday, 1 June 2014
Tuesday, 13 May 2014
Saturday, 3 May 2014
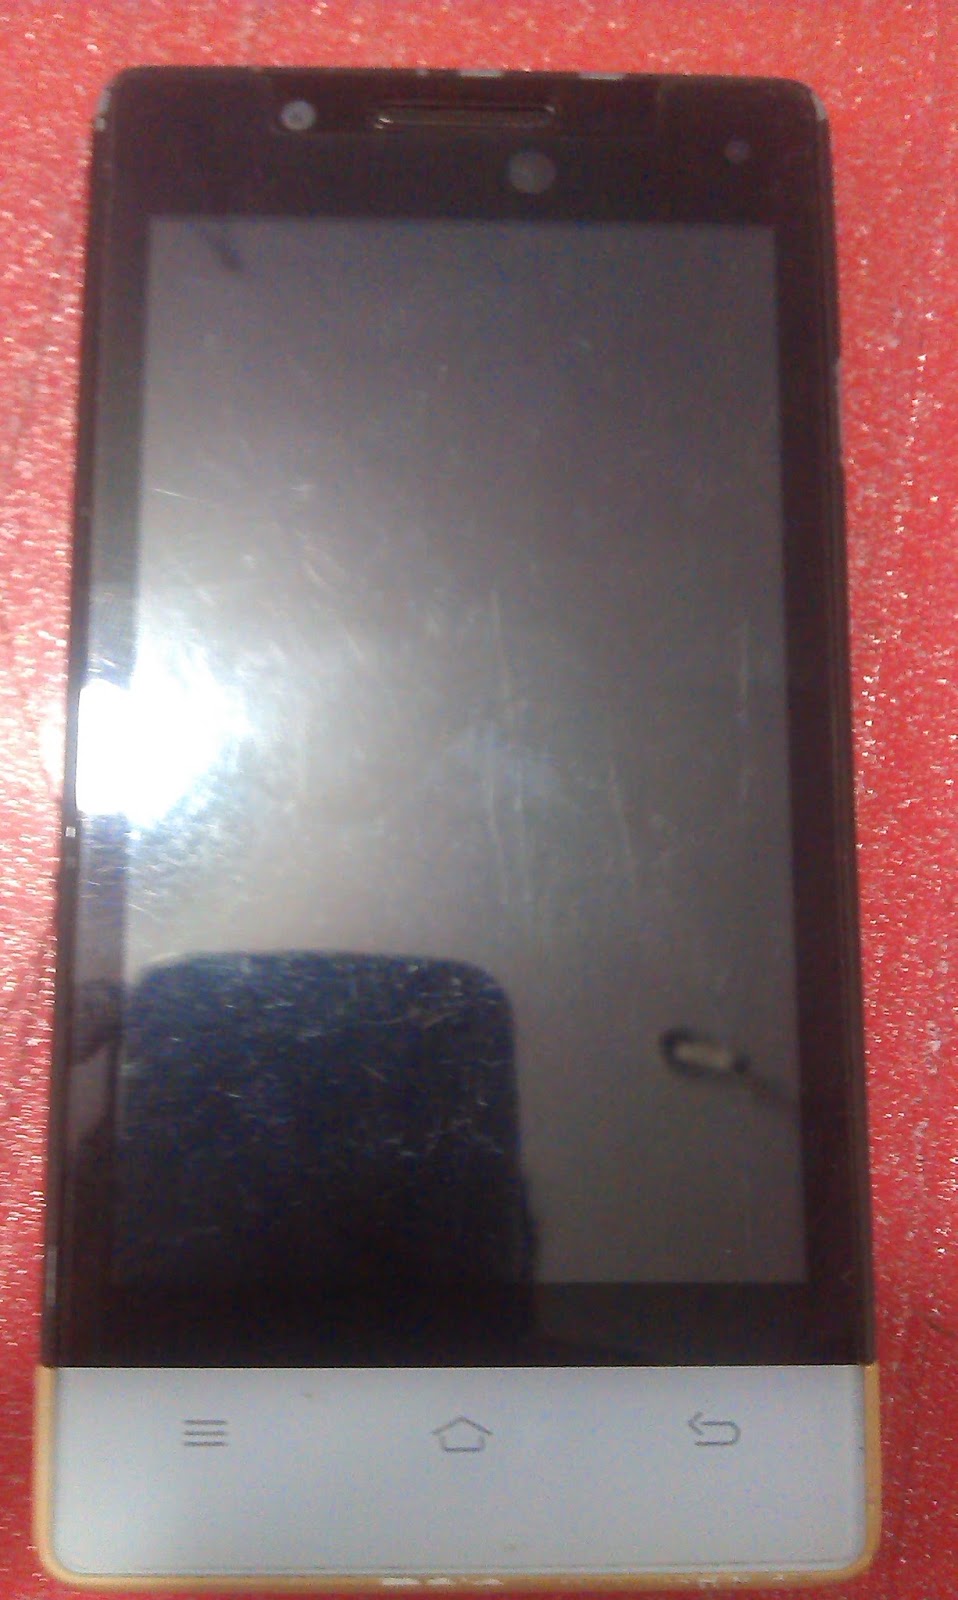
Micromax A72 Hard Reset and Remove Pattern Lock Using Volcano Box
How to remove patter lock Micromax A72
Steps:
- Open Volcano Tool and Use Jig P-05B
- Go to MTK Tab
- Tick on Read Info
- Then Click on Run
- When You See Analyzing Rx and Tx...
- Now connect The Micromax A72 to Volcano box with cable (Use Phone's Battery) (don't use box power cable)
- Then Press Volume Down + Power button until android logo appear
- Then Press the Soft Menu Button to get wipe Data option ( Down Left Button)
See the Screen shot Below---
Micromax A72 pattern Lock Remove - When you see this (Analyzing Rx and Tx) Connect Jig to the Phone and Press Volume Down + Power Button Until the Android Logo Appear
When You see this on your Micromax A72 that means your work is done - Use the soft menu key to go to the recover menu
Micromax A72 patter Lock Removed 100% Solved
Friday, 2 May 2014
XOLO A1000 OPUS HARD RESET
press and hold press power button vibrate mobile just hold volume up go recovery option to select recovery option select delete all user date done hard reset
Wednesday, 16 April 2014
Samsung SCH-W259 Flashing Done With Z3x and Samsung PST
Samsung SCH-W259 Flash Done With Z3x and Samsung PST
Here is the way how you can flash Samsung SCH-W259 Duos CDMA + GSM using Z3X and Samsung Phone Service Tool (PST) and the below is the procedure to Flash the phone.
Samsung W259 Flashing Problem Solved
Tools and Firmwares to Download for Samsung SCH-W259
SamsungPST_W259 For India
SamsungPST Setup
Samsung Firmware Binary W259DDDA2
Steps:
Flashing the GSM Part on Samsung W259
- Connect the Z3x box to the computer and see the COM port in Device Manager
- First install SamsungPST setup and Samsung PST_W259 For India.msi
- Then Run SamsungPST.exe (C:\Program Files\Samsung Electronics\SamsungPST)
- Click on the Model SCH-W259
- Go to SW Tab and choose software download option BIN+TFS(GSM)
- Select the GSM Flash file and Click on Start Software Download
- It will ask to select the COM Port Choose the Z3x COM Port and Click on OK
- One pop up will open just click OK
- Now connect the Phone to Z3x Box using RJ45 Cable an Press the Power Button(E210 Cable)
- The download process will start and takes about 30 minutes to complete
Note: Don't click on Rebuild.
 |
| Samsung SCH-W259 Flash done with Samsung PST and Z3x |
Flashing the CDMA Part Samsung W259
- After complete the GSM Flash Close the Samsung PST and Open it again
- Then Select EMERGENCY(CDMA)
- Open the CDMA File W259DDDA2.bin
- COM port setting should be the Modem COM Port (Setup-->Port Setting)
- Click on Start Software Download
- Now connect the USB Cable to the phone by pressing 9
Note:
Use E210 USB Cable to flash CDMA Part
Use E210 UART Cable to flash GSM Part
Friday, 31 January 2014
Subscribe to:
Comments (Atom)


